• This topic has 7 replies, 3 voices, and was last updated 5 years ago by Avatar photoKen.
  • Creator
    Topic
  • #8768
    Avatar photoKen

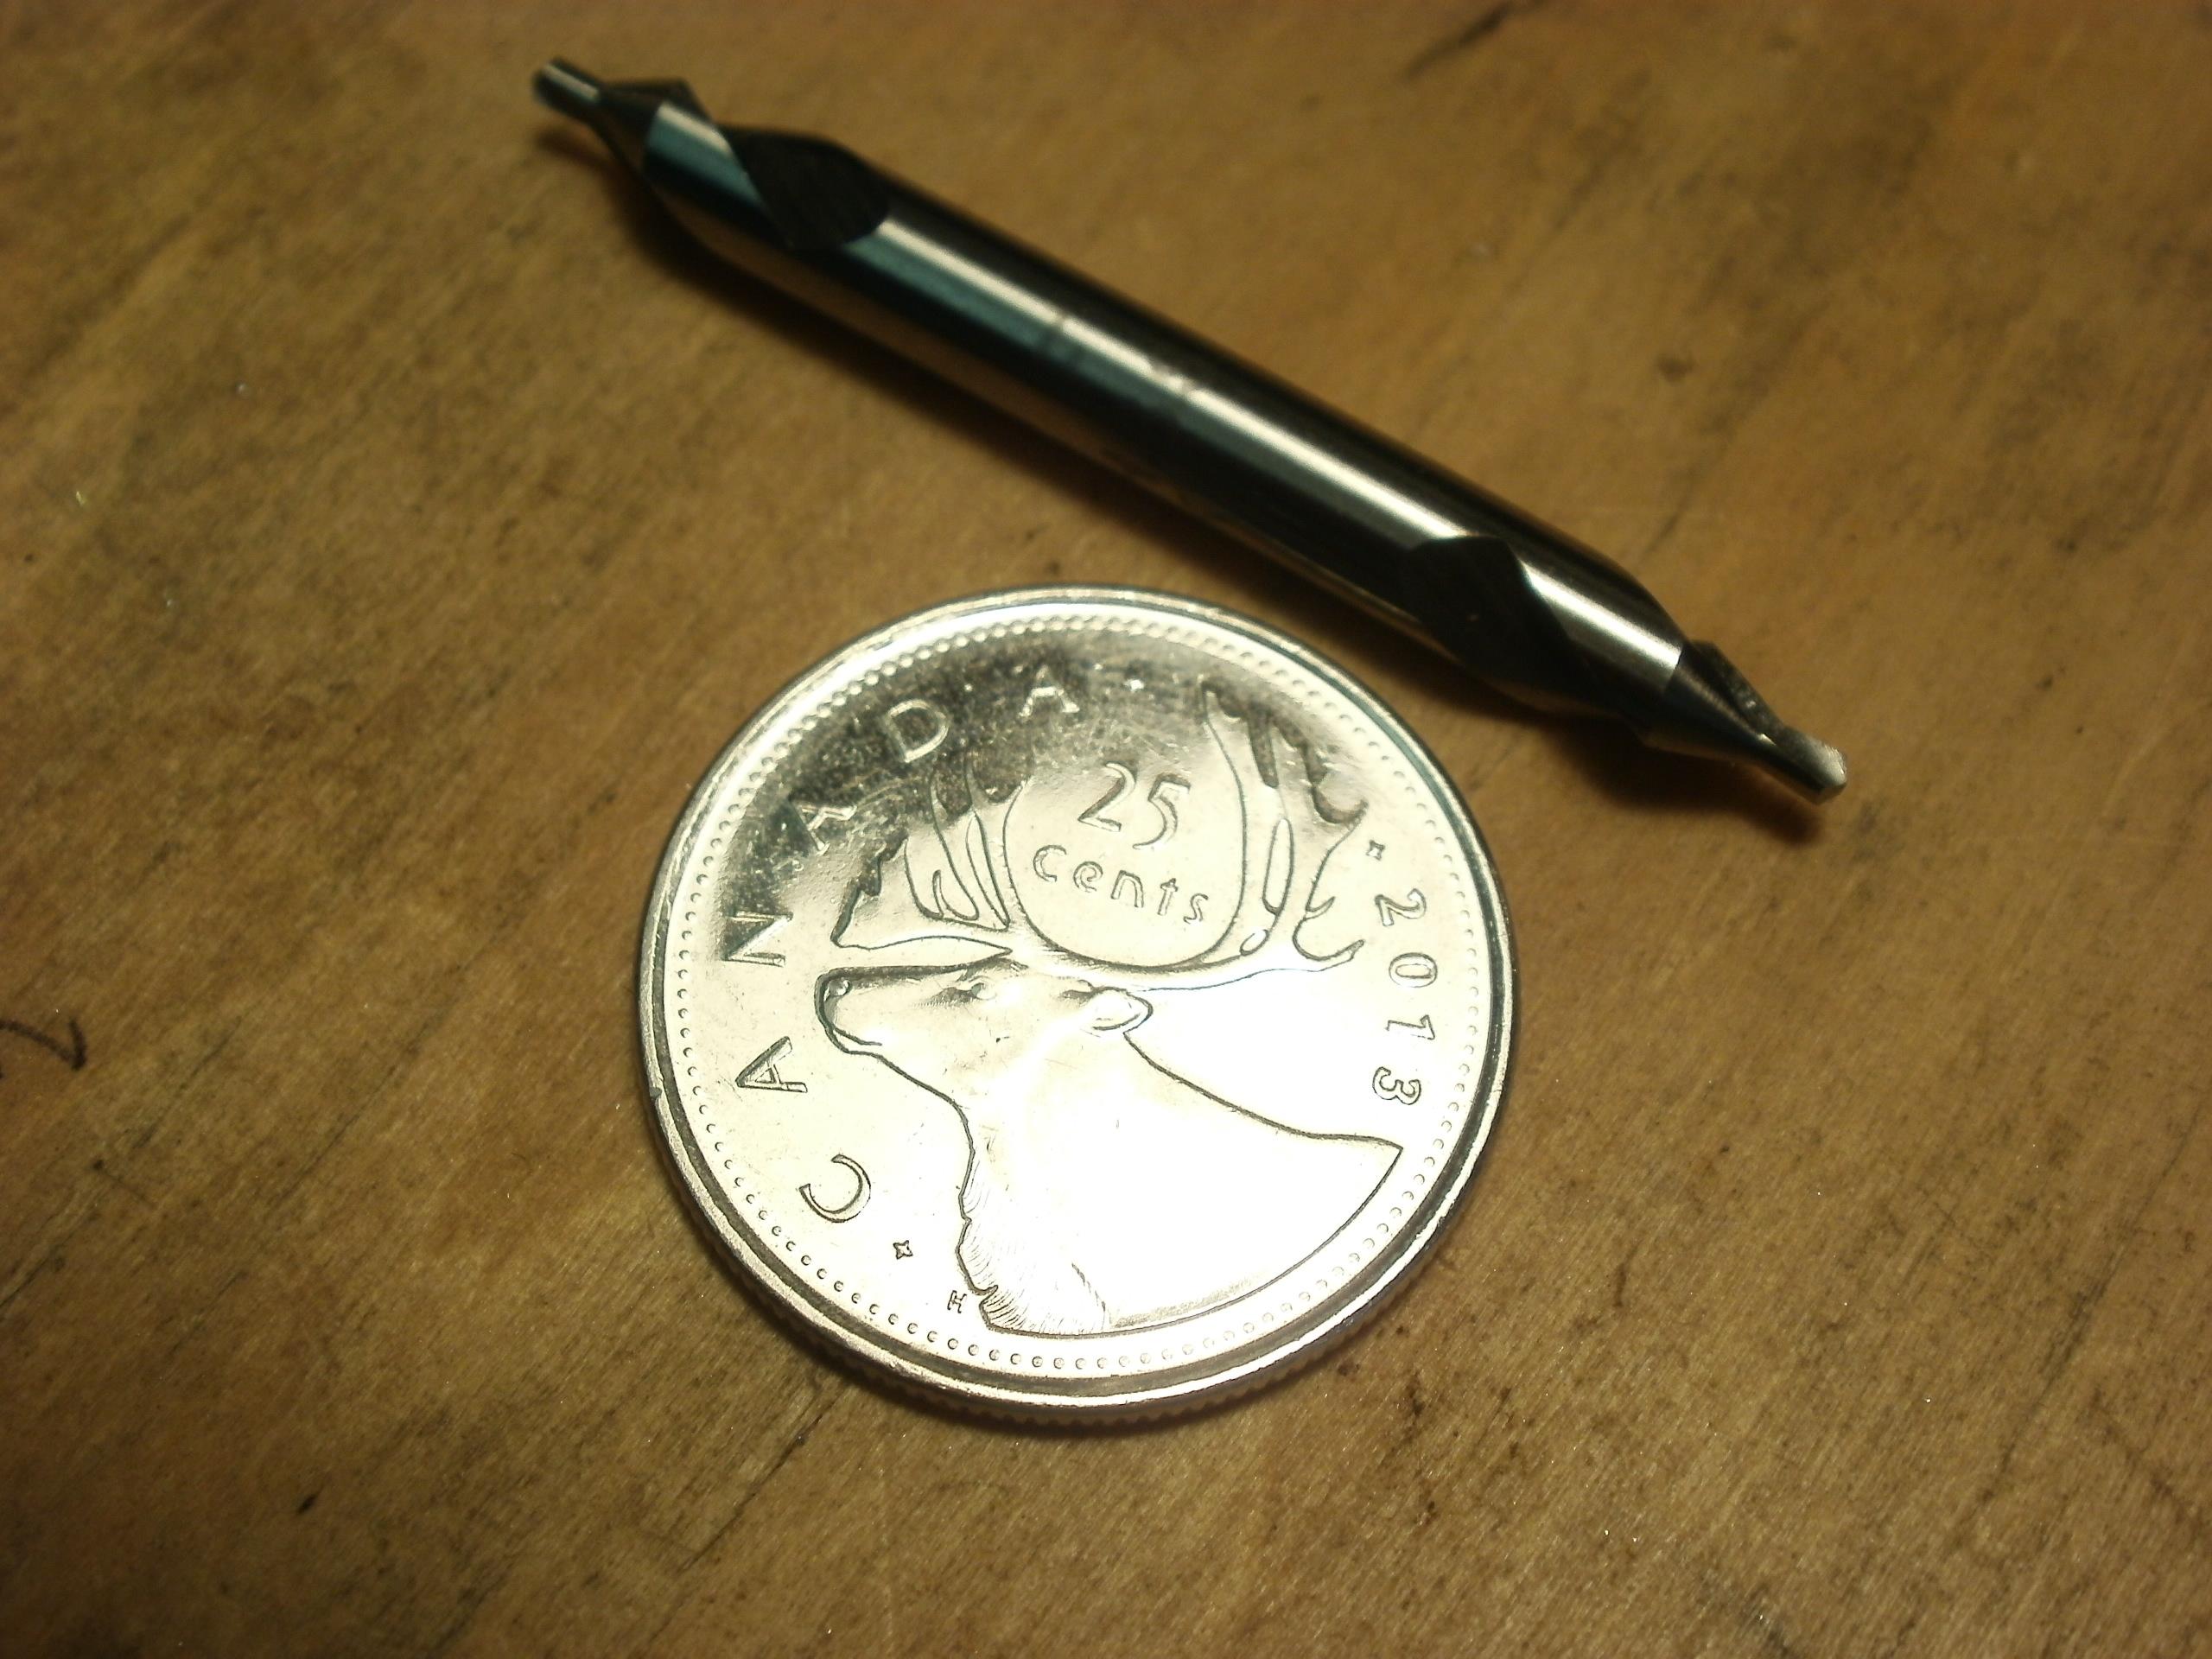
      The key to keeping axles true to each other is in the set up. I measure and scribe everything before I start drilling. I always start with a pilot drill. It can be used to lightly poke an accurate spot indicating if you’re on target. Drills are too long and flexible to check for accuracy that way. I don’t need a digital readout this way and use an inexpensive $75 drill press. 

    Viewing 6 reply threads
    • Author
      Replies
      • #8770
        Avatar photoKen

          I have a compound table that costs around $90. It has a scale and measurements but I only trust my scribed lines. The only reason I like the table is that it keeps the part locked in place so I can drill for both axles. There is very little chance to be out of alignment from each other that way. I use a #14 drill bit. It’s about .005″ undersize so the reamer does very little work. I use oil at every stage of drilling. It helps prevent drilling oversized holes.

        • #8771
          Avatar photoKen

            The reamer barely takes off a hairs worth of material. Just to clarify. I used the pilot drill, then changed the tooling to the #14 drill. Then changed the tooling to the reamer before moving over to the next axle hole. It’s the only way to keep the bearings across from each other true. 

          • #8772
            Avatar photoKen

              Compound table and and an inexpensive drill press does wonders.

            • #8773
              Avatar photoKen

                Poetry in motion. Thanks for looking. Ken

              • #8774

                Thanks for sharing your technique Ken! :good:

                The Happy Canadian Scale Modeler!

              • #8777

                Thanks for elaborating on your process Ken. I’ve wanted to make chassis this way for 24th scale cars for years and never gotten around to it.

                K&B made an adjustable chassis in the 60’s similar to this with 2 slightly different size aluminum channel pieces.

              • #8782
                Avatar photoKen

                  It’s my pleasure to help where I can. I originally bought 1″-inch square tubing and realised it was a bit big for 1/32.

                  Bill. There’s a 9″inch length of 1″ inch square tubing for you at Art’s place to experiment with. It looks better suited for 1/24 cars. Have fun and knock yourself out!

              Viewing 6 reply threads
              • You must be logged in to reply to this topic.